Overview
In order to use Visual Studio to complete your class assignments you will need to have full administrative access to the computer you will be installing it and using it on (no
Macs, tablets, or mobile devices will work because Microsoft only makes Visual Studio available for their Window operating system). If you do not already have Visual Studio installed on your computer you can download the latest complimentary version, from VisualStudio.com. Be sure you download Visual Studio and not Visual Studio Code.
Note: Since Visual Studio is not available for either ChromeBook or MAC computers (click the link for your computer to see alternative options).
Installing Visual Studio Community from VisualStudio.com
Please note: Microsoft changes the free Visual Studio install procedures all the time. These instructions represent the procedures required at the writing of this tutorial. If you have problems downloading or installing the Visual Studio program, contact your instructor or the CIS Webmaster (bbennett@msjc.edu) via email for assistance.
In order to download the free version of Visual Studio for use in the Internet Authoring classes complete the following steps (ONLY Download Visual Studio NOT Visual Studio CODE!!!):
-
Open a Web browser and type visualstudio.com in the address bar and press Enter.
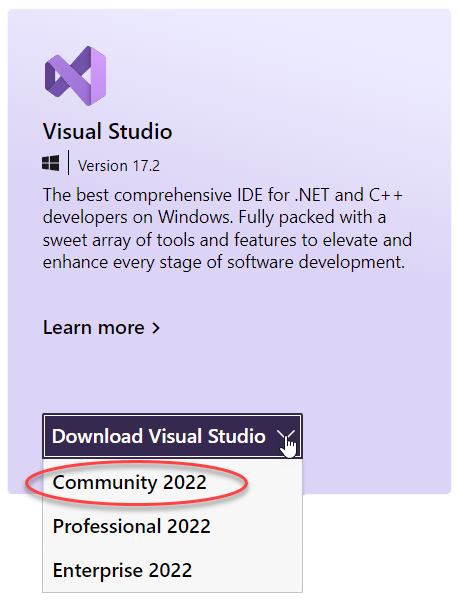
- Click or tap on the purple box that reads "Download Visual Studio" to download and install Visual Studio. For Windows users, click or tap Community 2022 or latest version from the drop-down list that appears. The download of the Visual Studio installer program should begin immediately.
- Locate the downloaded file and double-click it to begin the installation process.
- A security warning may appear, if it does - click the Run or OK button.
- A Visual Studio Installer screen will appear on your computer screen. Click the check box to accept the license agreement, make sure you have enough free storage space (10-14 GB) available on your computer, and then click on the Continue button that appears.
- The next screen should be the Workloads screen. View Installing Visual Studio Workloads then scroll back up to the next step in these instructions.
- Once you have selected the correct workloads for the class(es) you are enrolled in, click the Install button at the bottom right of the Workloads screen.
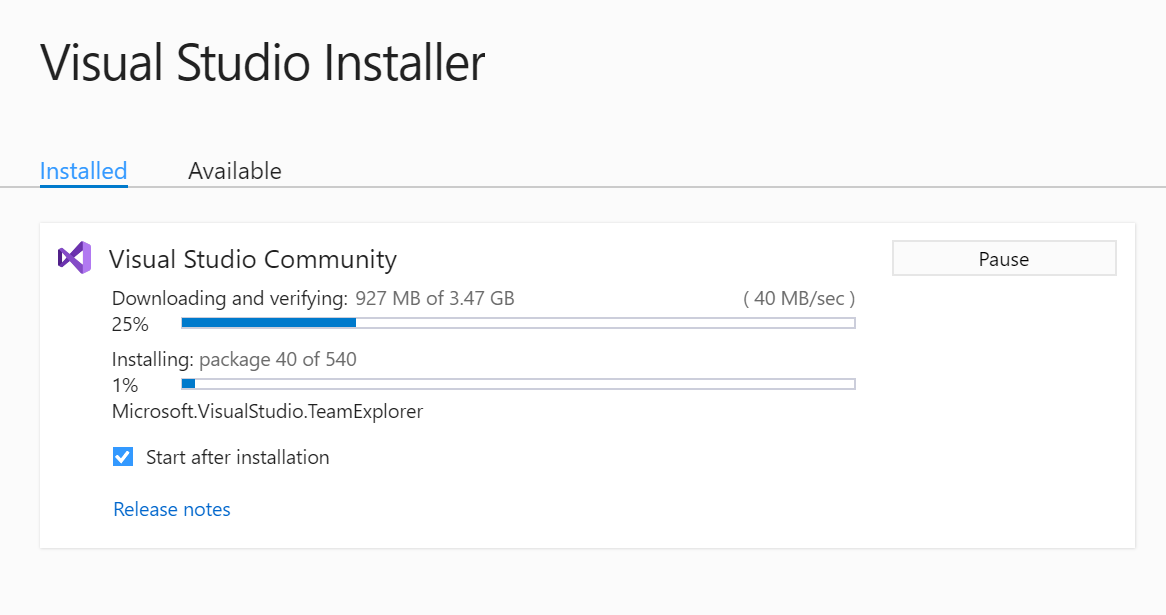 Figure 2: Video Studio Installer running the installation process.
- The Visual Studio setup should install itself unattended from that point forward. Once the installation is complete, you may get a screen asking you to install cross-platform features, just click the Skip button on this screen.
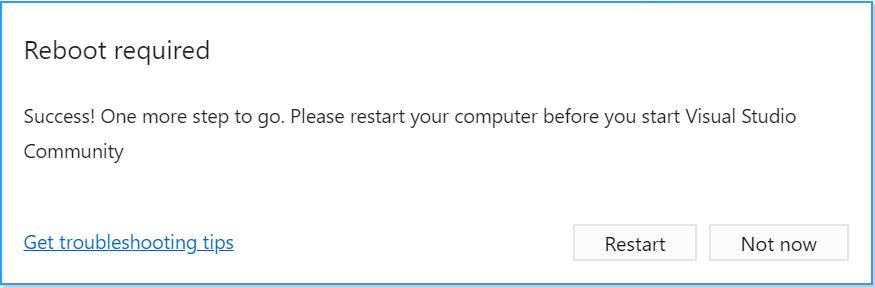 Figure 3: The Reboot required screen.
- If this is a new installation of Visual Studio you will most certainly get a Reboot screen next, click the Restart button on the Reboot required screen that appears. Once you computer has rebooted, skip down to First Time Opening Visual Studio.
- If a Reboot screen does not appear, Click Start Visual Studio..on the next screen you'll see a message that Visual Studio is being prepared for first use.
Once that step is completed, Visual Studio should appear on your screen.
- The next screen should have a big Launch button at the bottom of it. Click Launch to open Visual Studio.
- Once you close Visual Studio, in order to re-open it, check for Visual Studio 2019 on your Start Menu on Windows computers and in the Application folder on Mac computers.
⇑ Table of Contents
Installing Visual Studio Workloads
Read the text below for course specific installation info. If you run into problems downloading and/or installing Visual Studio, you might try the Microsoft Web-based tutorial titled Install Visual Studio.
When installing Visual Studio, on the Workload tab, you will need to choose which "workload(s)" you want included in your Visual Studio installation as shown in the figure below. Review the table below to learn which workloads you will need installed in order to complete your CIS coding classes.
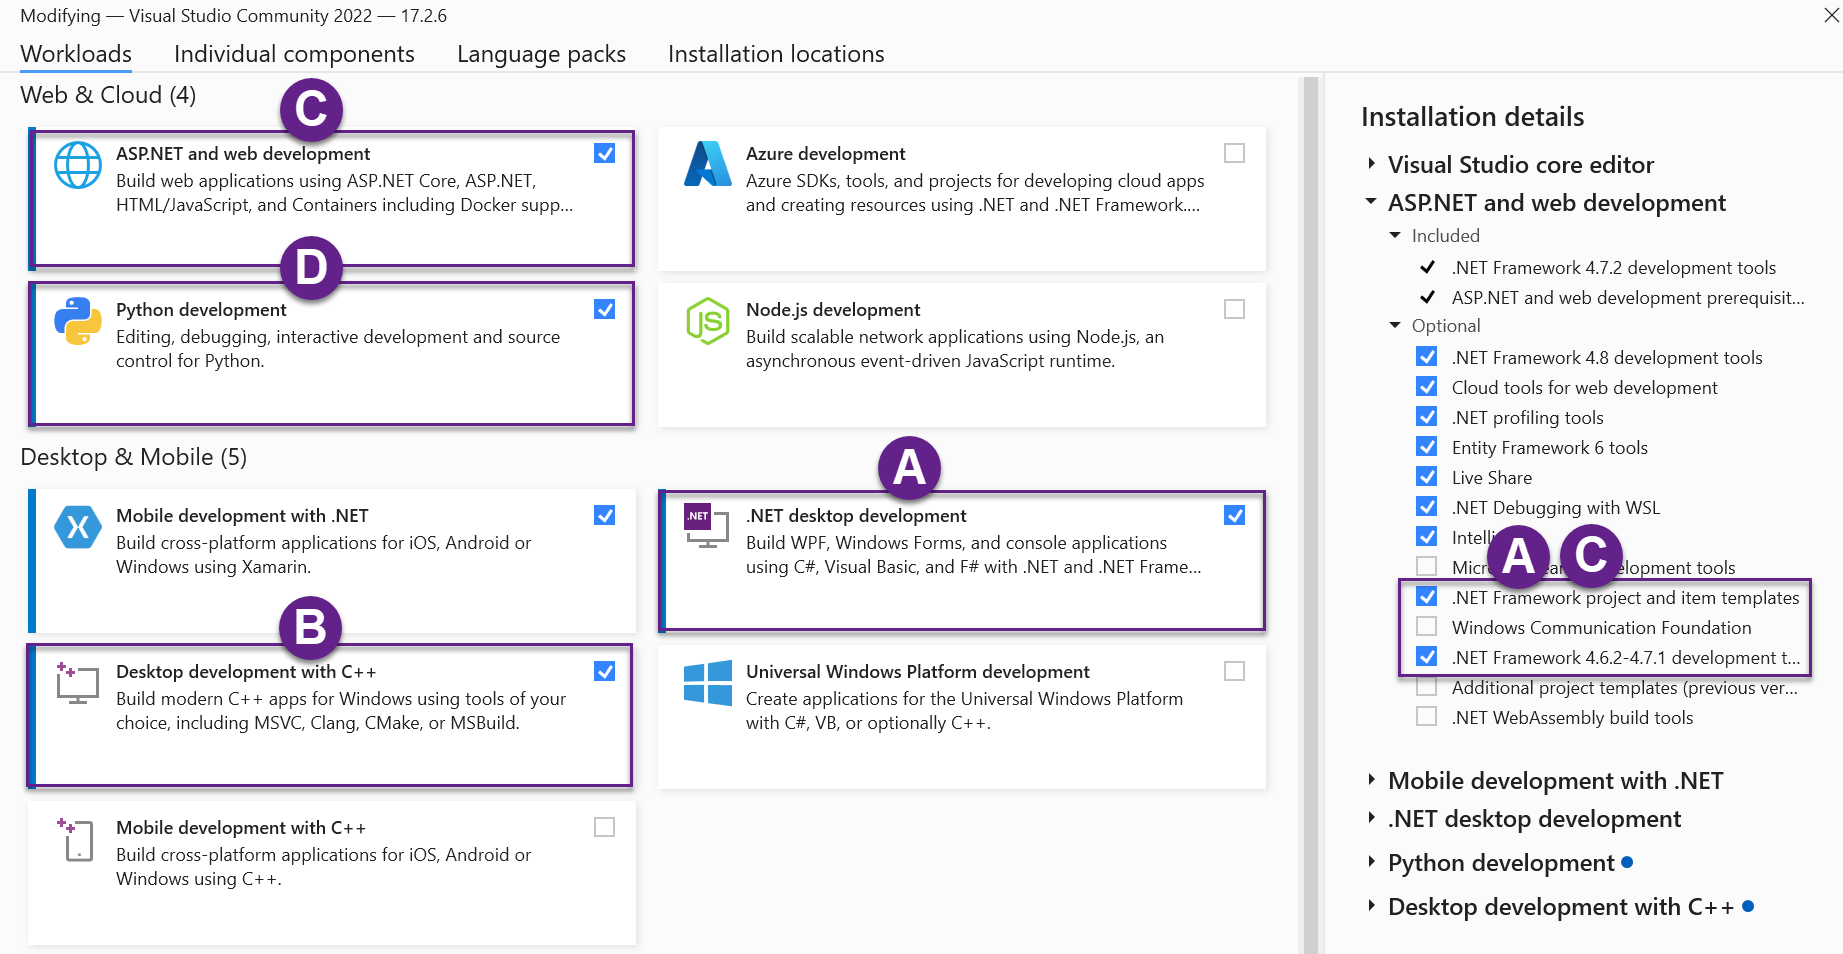 This image shows the Workload tab used by the Visual Studio Installer. The workloads boxed in purple each have a letter which is used in the table below to identify which workloads are need for which CIS classes. Depending on the class you are in select the appropriate workload(s) for your class when installing Visual Studio. You can change which workloads are installed by re-running the installer. Click on image to view it larger.
Course Requirements for Visual Studio Workloads
Below is a mapping of MSJC's CIS courses which use Visual Studio and the workload you will need installed to complete the assignments in that class.
| Course Number |
Workload Requirement |
| CSIS 111B |
Include the .NET desktop development (A) workload. |
| CSIS 113A and CSIS 123A |
Include the Desktop development with C++ (B) workload. |
| CSIS 113C and CSIS123C |
Include the .NET desktop development (A) workload |
| CSIS 115A, CSIS 525, and CSIS 786 |
Include the ASP.NET and Web development (C) workload. |
| CSIS 116E and CSIS 126E |
Include the Python development (D) workload. |
Additional Selections for CSIS 115A, CSIS 525, and CSIS 786
In Visual Studio 2022 (and most likely later versions), you will need to go to the Installation Details box to the right of the workloads in the Visual Studio Installer and expand the ASP.NET and Web Development grouping to manually select the .NET Framework templates needed for the CSIS 115A and CSIS 786 classes (see image below).
For help with Visual Studio templates see What Are Project and Item Templates.
How to Modify Workloads After Installation
This video demonstrates how to modify Visual Studio Workloads using the Video Studio Installer.
⇑ Table of Contents
First Time Opening Visual Studio
No matter which option you choose for accessing the Visual Studio IDE, the first time you run the program there will be a couple of dialog boxes that pop up asking you to make some choices.
These are the choices you will need to make before getting access to the Visual Studio program:
- Do you want to use a Microsoft account while using Visual Studio.
This will synchronize your Visual Studio environment across multiple devices when logged-in with your Microsoft account (MSJC student email accounts are Microsoft accounts!)
- What environment settings you prefer
Using a Microsoft Account

The first dialog box you will see is asking you if you want to login using a Microsoft Live account. Making this choice will allow you to sync your preferences and options settings between multiple devices should be using Visual Studio on more than one computer, like home and the classroom.
Rumor has it that your MSJC email account is a Microsoft Live account and will work for this purpose. However, experience has shown that it seems to work for some student email accounts and not others. Your professor and MSJC take no responsibility for your outcome here - that responsibility belongs completely to Microsoft.
If you want to try using your MSJC email account for logging into Microsoft each time you open Visual Studio, then click on the Sign In button, otherwise click on Not now, maybe later.
Environment Settings

The second dialog box you will see after opening Visual Studio for the first time is the Environment Settings dialog box. Near the top of the dialog box you will see a Development Settings drop-down list box, click on the down arrow to open it and view the available choices. Depending on the class you are taking, one of two choices will be best suited for your needs:
- Visual C#
- Web Development
If you are in the CSIS 111B, CSIS 113C, or CSIS 123C classes, choose Visual C#. If you are in CSIS 115A or CSIS 125A, then choose the Web Development option, not the Web Development (Code Only) option. Choose the Web Development option even if you are in the CSIS 125A Web Development Level 2 class. I know this is essentially a JavaScript class, but you will want to be able to create HTML and CSS files in addition to JavaScript files, so Web Development is still your best choice here. Note: no matter which option you choose you can always change your development environment later from the Visual Studio Tools —> Options —> Environment —> General options screen.
Once you have selected your Development Settings, you may also want to change the default choice of how your Visual Studio program environment will look. Choose a Color Theme to your liking; once again, you can change this later if you want.

After you have made your selections, click the Start Visual Studio button. From there the program should load and be ready for you to create your first Web development or Programming assignment.
Video Lecture
View this video to learn more about running Visual Studio for the first time.
⇑ Table of Contents
Learning More About Using Visual Studio
There are some additional configuration options that you might want to make which will make things a little easier for you; topics like:
- Learning about the Web One Click Publish toolbar
- How to open the Solution Explorer window
- Changing views in the Document window
- Setting the HTML (Web Forms) editor as the default editor for HTML files
- How to configure split view
- How to create a new programing project
- How to open an existing Visual Studio project
- How to open a Website in Visual Studio
To learn about these topics, please read the Visual Studio Basics tutorial.
⇑ Table of Contents